
Azure Setup
In order for Hyperglance to be able to authenticate to the Azure APIs, to collect the data needed, you need to follow some steps that involve creating an app, then assigning that app ‘Reader’ access for each subscription you want to bring into Hyperglance.
This tutorial will walk you through the setup process:
Step 1: Register the Hyperglance app with an App Registration in Azure Entra ID
Step 2: Find the Application ID
Step 3: Create a Secret
Step 4: Find your Subscription ID
Step 5: Grant roles
Step 6: Configure Hyperglance
Through the course of steps 2, 3 and 4 of the tutorial we will find the required identifiers needed to connect Hyperglance to your Azure environment:
- Subscription ID
- Application ID
- Client Secret
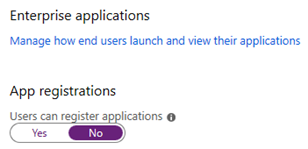
NOTE: You will need to have a role of Global Administrator, Application Administrator or Application Developer in your Azure Entra Directory in order to complete these steps if 'Users can register applications' setting is set to 'No'. See below:
You also must be a Service Administrator, Co-Administrator, Owner or User Access Administrator in your subscription in order to complete these steps (in the grant roles step, the minimum role is User Access Administrator).
Step 1: Register the Hyperglance app with Azure Entra ID
a. Log in to your Azure Account through the Azure portal.
b. Select Azure Entra ID from the left panel.
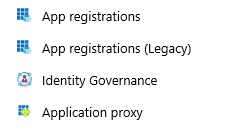
c. Select App registrations.
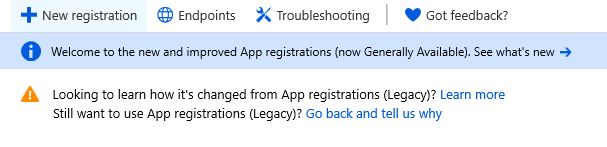
d. Select New registration.
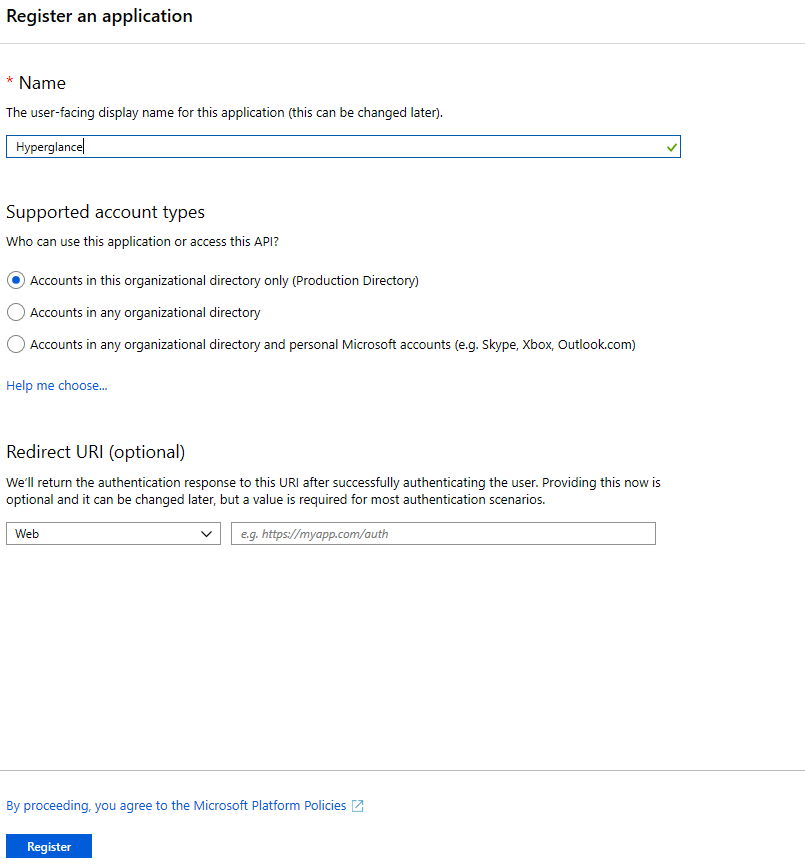
e. Give it a name and click Register.
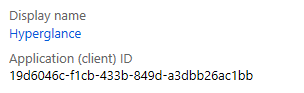
Step 2: Find the Application ID
Click App registrations and you can then see the application ID. The same ID can be found also under Enterprise applications.

Copy the Application ID, it will be needed later.
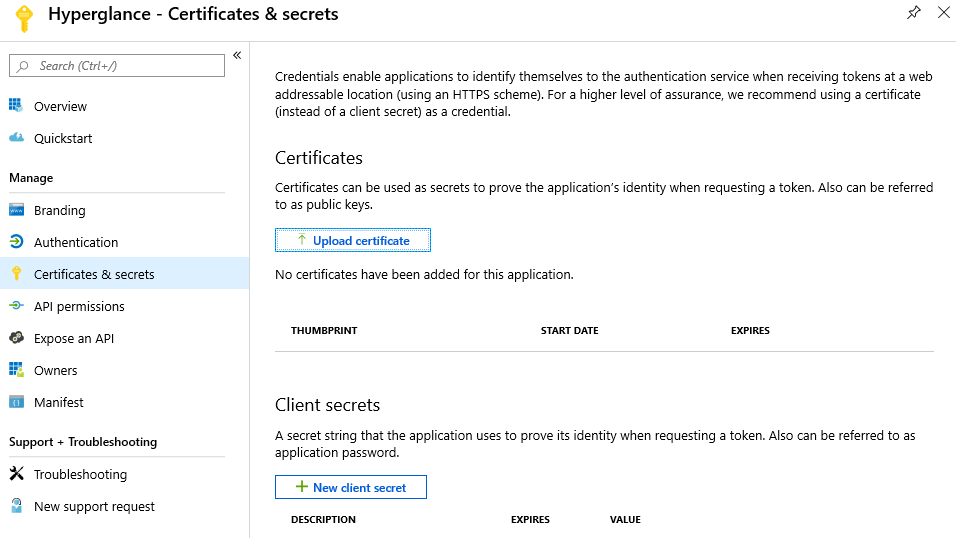
Step 3: Create a Secret
a. Select Certificates & secrets and click New client secret.
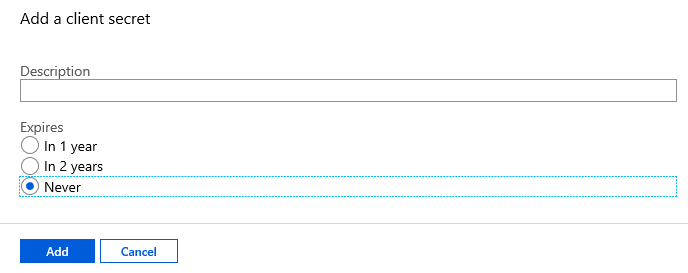
b. Add description (not mandatory), select the expiration and click add.
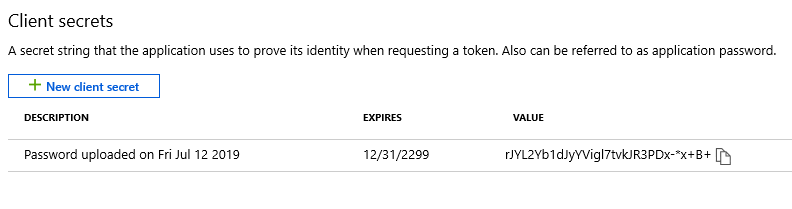
c. Copy the displayed client secret value, it will be needed later. You won't be able to retrieve it after you leave this page.
Step 4: Find your Subscription ID
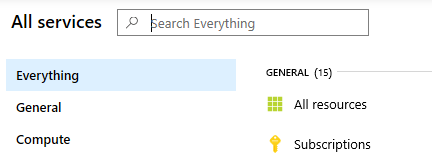
a. In your Azure portal dashboard select All Services and Subscriptions.
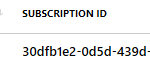
b. Copy the relevant Subscription ID, it will be needed later.
Step 5: Grant roles
Here we grant the Hyperglance application access to monitor your Azure environment.
Note: You can only do this if you are a Service Administrator, Co-Administrator, Owner or User Access Administrator.
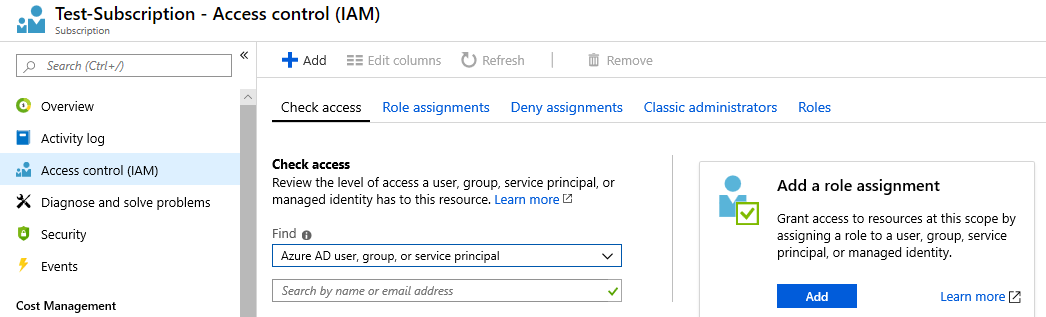
a. To assign a role at the subscription scope, select All Services and Subscriptions again.
And there select your subscription, Access control and click Add (Add a role assignment).
b. Select the role. You should either:
-
The 'Reader' role now and later follow our guide on how to add permissions to allow Cost ingestion.
-
Or, deploy our custom role which includes all required permissions and then assign that.
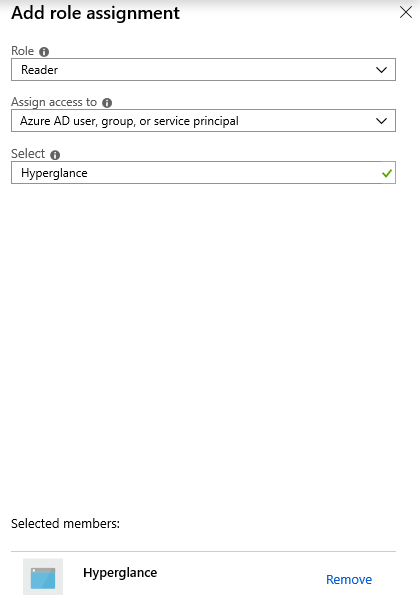
c. Click Save to finish assigning the role.
NOTE: Depending on your network setup you may need to configure Hyperglance to use a proxy. See here for instructions.
Step 6: Configure Hyperglance
a. In your browser visit the Hyperglance Settings https://IP_address. Make sure you use https as the protocol (not http).
b.
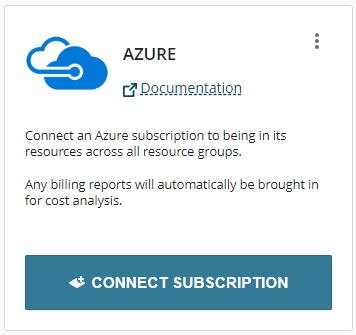
Select Settings > Platforms, then click CONNECT SUBSCRIPTION:
You are now presented with the Connect Azure Subscription dialog: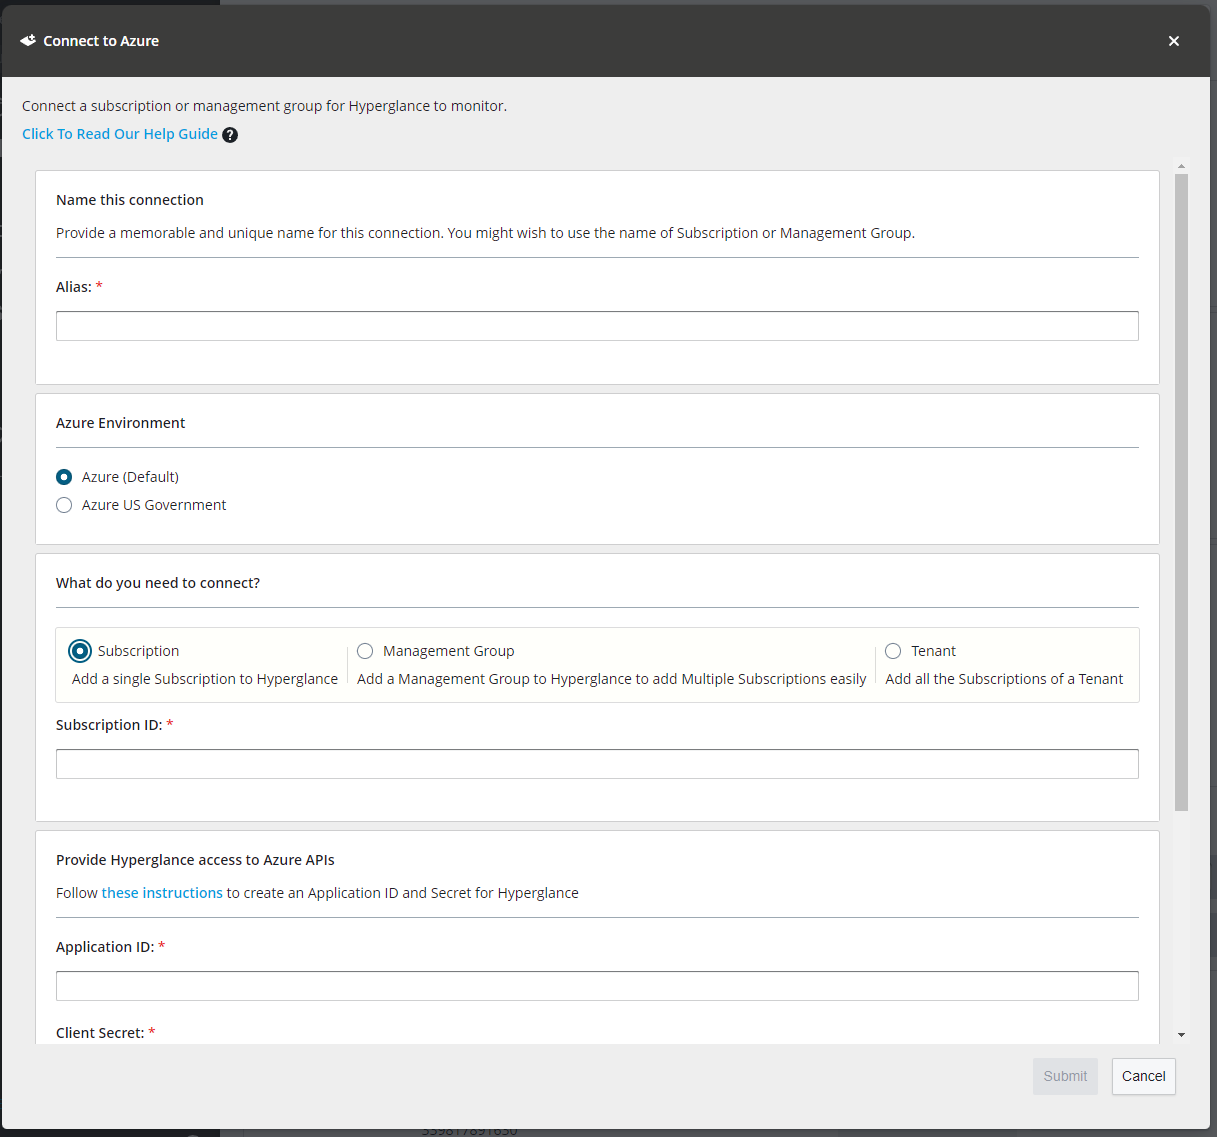
c. Fill in the following details:
i. Account Alias – This can be anything you want but must be unique and should be informative.
ii. Subscription ID – See “Step 4: Find Your Subscription ID”
iii. Application ID – See “Step 2: Find the Application ID”
iv. Client Secret – See Step 3: “Create a Secret”
d. Click submit.
Congratulations! You have successfully finished setting up Azure in Hyperglance.