
There are a variety of notification channels available in Hyperglance.
Here's how to set them up:
Email/SMTP
1. Select Settings from the bottom left of the navigation:
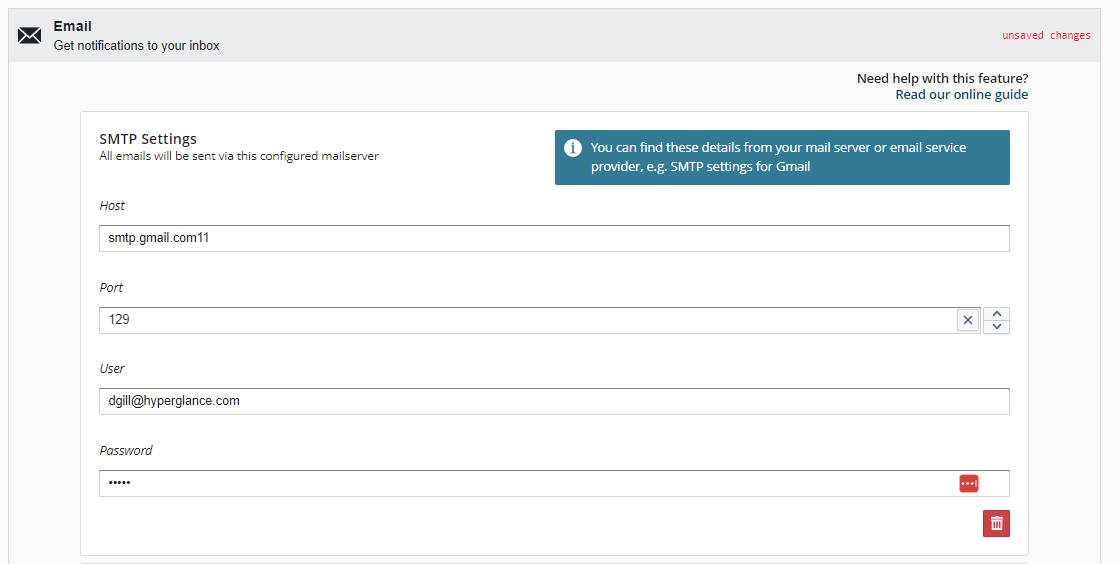
2. Under the Alert Notifications tab expand the Email integration settings.
3. In the SMTP Settings section fill in the host, port number, user and password details of the SMTP server you wish to use.
You can find these details from your mail server or email service provider, e.g. SMTP settings for Gmail
And optionally provide a default recipient who will receive alerts:
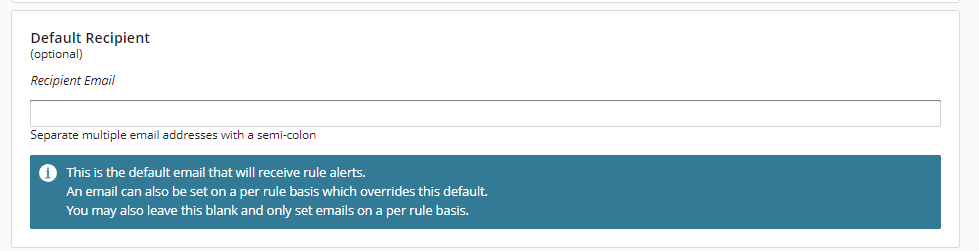
You can always set or override this default recipient on a per-rule basis.
4. Hit the Save button.
Jira
1. Select Settings from the bottom left of the navigation:
2. Under the Alert Notifications tab expand the Jira integration settings.
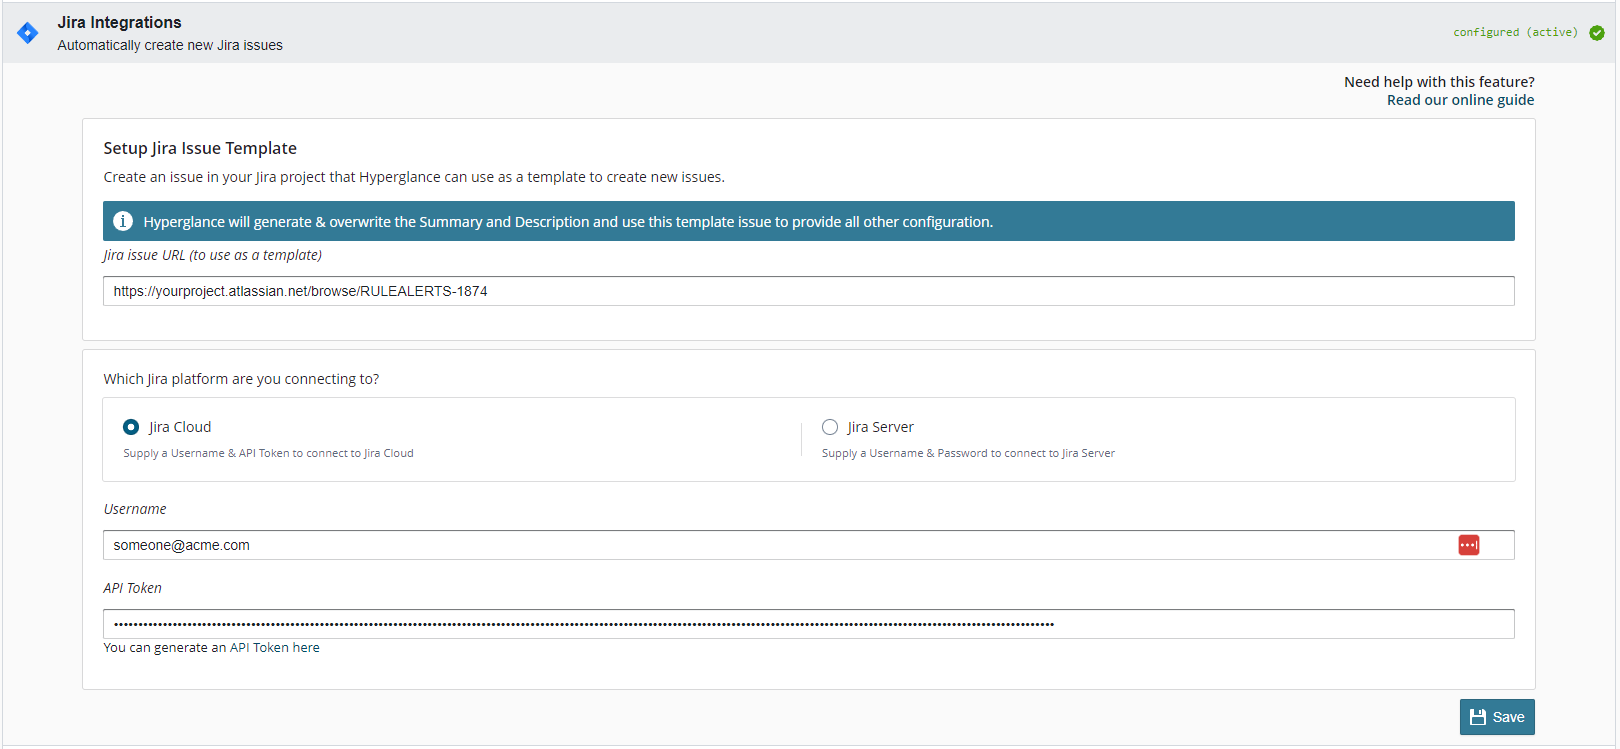
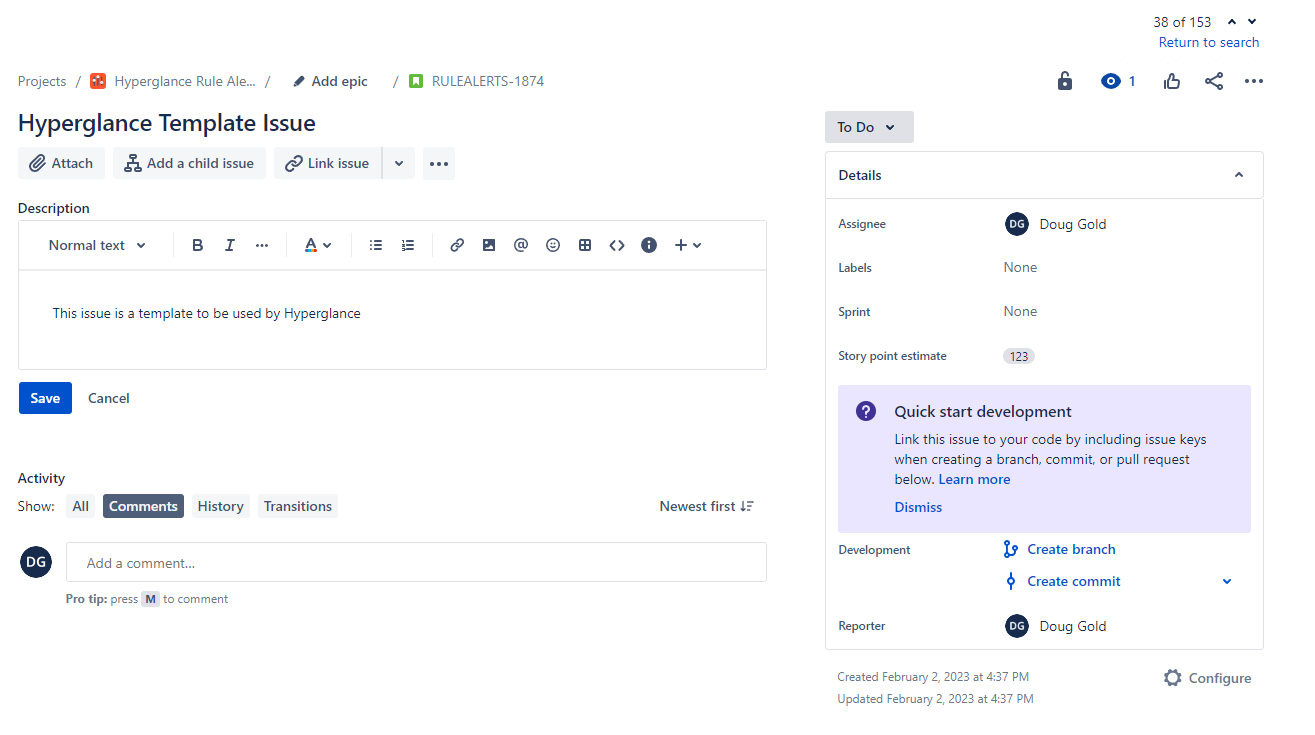
3. In your Jira project create an issue that Hyperglance can use as template for all the issues that it creates. Hyperglance will clone this issue to create new ones, so set fields such as assignee and sprint as you please. It does not matter what you set the Summary or Description to as Hyperglance will overwrite those fields when creating new issues:
4. Paste the URL of your issue template into Hyperglance:

5. Decide whether you are using Jira Cloud or Jira Server and provide suitable access details for a user that Hyperglance can use to access your Jira project and create new issues:
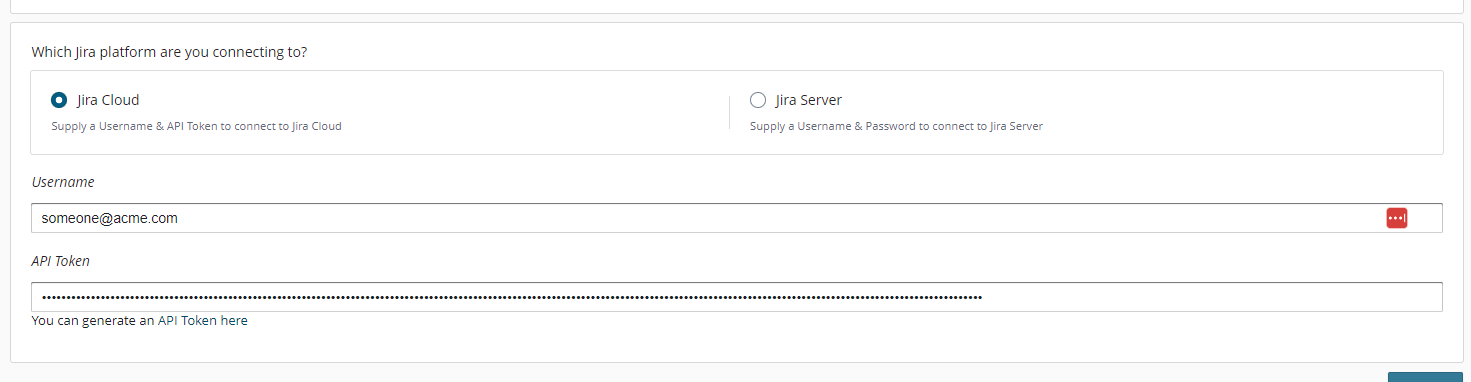
If you are using Jira Cloud: Provide a username and an API Token.
If you are using Jira Server: Provide a username and a password.
5. Hit the Save button.
Hyperglance will automatically stay in-sync with any future changes you make to the template issue in Jira (e.g. changing assignee or sprint, etc). Alternatively you may delete the template issue after a few minutes of submitting the form as Hyperglance will retain a cached copy in its database.

AWS SNS
1. Select Settings from the bottom left of the navigation:
2. Under the Alert Notifications tab expand the AWS SNS integration settings.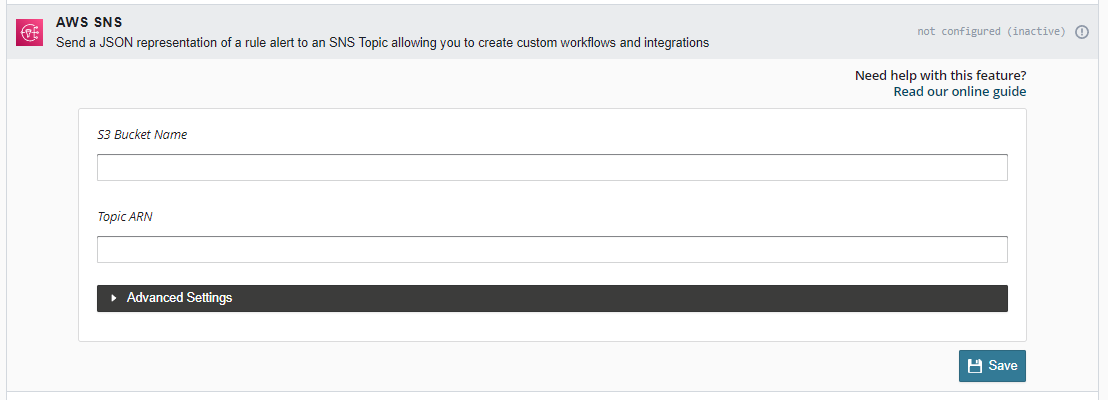
3. Provide the Topic ARN that Hyperglance will send events to, and the S3 Bucket Name that will hold the full payload of the event (the events themselves are too big to send over SNS directly, see below).
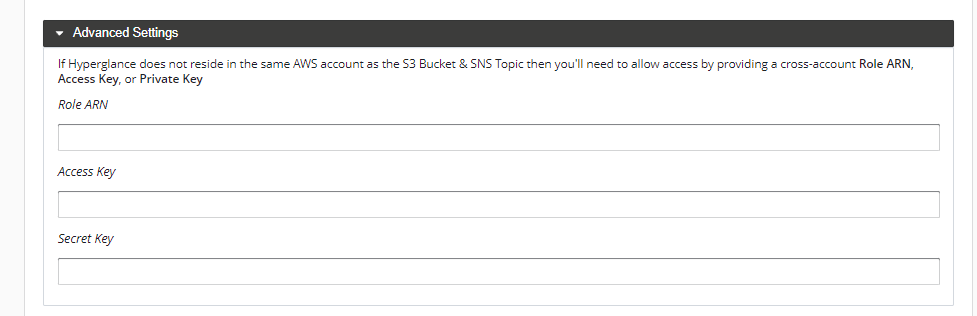
4. If Hyperglance does not reside in the same AWS account as the SNS Topic & S3 Bucket then you'll need to allow access by providing a cross-account Role ARN, Access Key, or Private Key under the Advanced Settings section:
5. Click Save.
Hyperglance Notifications & S3
When Hyperglance sends an event, first it will store the results of a rule in the S3 bucket:
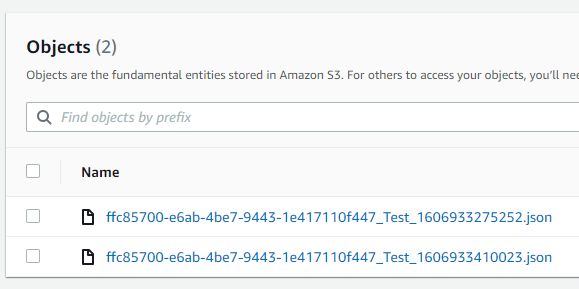
WARNING: These JSON objects will remain in the bucket indefinitely. It is your responsibility to delete them after processing, or use S3 lifecycle deletion.
Next Hyperglance will send a notification over SNS referencing the bucket and the object, like this:
{
  "name": "My Rule",
  "threshold": 0,
  "evaluatedAt": 1606933410023,
  "labels": ["My Rule Label"],
  "status": "ABOVE_THRESHOLD",
  "data": {
    "s3bucket": "the_name_of_your_bucket",
    "key": "ffc85700-e6ab-4be7-9443-1e417110f447_Test_1606933410023.json"
  }
}
Azure Event Grid
1. Select Settings from the bottom left of the navigation:
2. Under the Alert Notifications tab expand the Azure Event Grid integration settings.
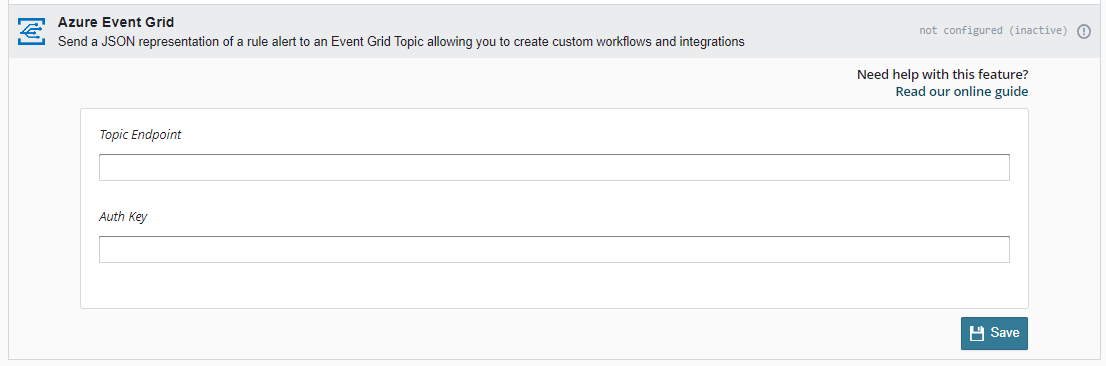
3. Enter the Topic Endpoint that you'd like to send the notifications to, and the Auth Key from the topic.
4. Click Save.
Slack
1. Select Settings from the bottom left of the navigation:
Under the Alert Notifications tab expand the Slack integration settings.
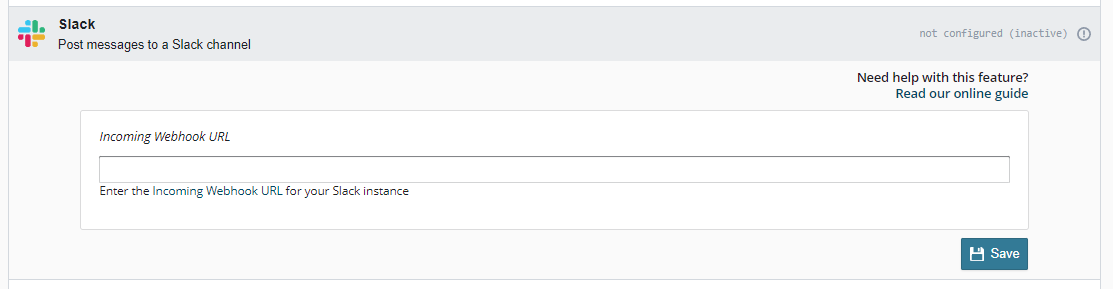
3. Enter the Incoming Webhook URL for your Slack channel. Learn how to make an Incoming Webhook in Slack.
4. Click Save.
Microsoft Teams
1. Select Settings from the bottom left of the navigation:
Under the Alert Notifications tab expand the Microsoft Teams integration settings.
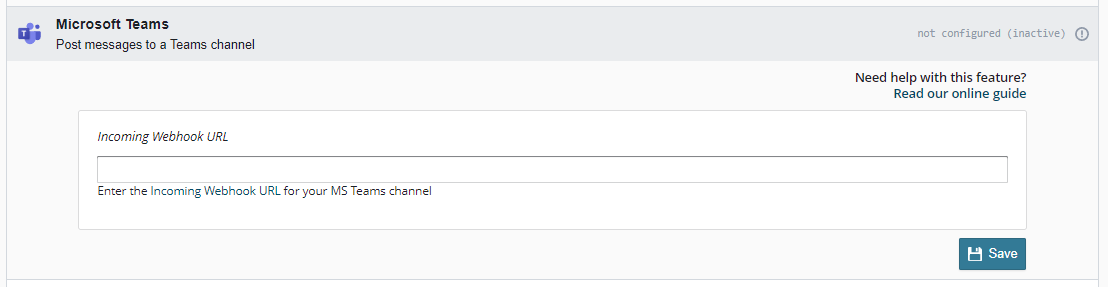
3. Enter the Incoming Webhook URL for your Teams channel. Learn how to make an Incoming Webhook in Teams.
4. Click Save.